My purpose here is to run my wonderful beautiful writing program, Scrivener, on my Chromebook so I can write wherever I am. Chromebooks run on the Chrome OS (operating system), but Scrivener doesn't come in that format at all, so I need something that can work with that.

To do this, it's 5 (maybe 6) step process. Be sure to back up anything that's existing on your chromebook before you begin, on an outside source. Doing this will totally wipe out your Chromebook and reset it. Be careful!! You've been warned.
Step 1:
Put the chromebook in developer mode:
ESC+Refresh+ tap the power button
(opens recovery screen)Once there, CTRL+D, then agree to the prompt- will open into developer mode
How to Geek's guide I followed for this step.
Step 2:
Download and install:
Follow link to download file: This downloads the file you need for Ubuntu with Crouton, as directed by the How to Geek link above. This is the version that allows you to run Chrome OS on one side of a partition, and Linux (via Ubuntu) on the other side. You can toggle back and forth without having to restart, using this one.
I found out about it here: Article giving tools to take a Chromebook further. Some of the details were out of date and I had to find workarounds for some steps. These steps I'm giving you now worked as of May 14, 2018, on an Intel Processor Acer Chromebook.
Once it's downloaded, to install, you need to open the crosh terminal on the Chrome side.
Once it's downloaded, to install, you need to open the crosh terminal on the Chrome side.
CTRL+ALT+T
(opens crosh terminal in Chrome OS- It will open like a new tab in your browser)This will ask you for a UNIX password here, almost like you have one in place. You're actually creating it here, and will need it later, so write it down if you need to! Think of this as the head admin password for the Linux program.

Type "shell" and enter (will always be the first step when you open the crosh!!). This takes you 1 step down in the program code- You do not want to try messing with the core program!! Also, how fun is their message in case the crosh wasn’t intentionally opened?
Then you type in what you want to do. For this step, we need to download the operating system for Linux, and it’s companion interfaces.
sudo sh ~/Downloads/crouton -e -t xfce(any time you use “sudo” it’s the admin approval option and will likely need a password [created above!] to proceed)
This download takes about 30 minutes. Follow prompts, be sure to save any passwords, or pass phrases created here!
To run, once downloaded:
This will open the Linux side. To go back and forth between them, hold down the following keys together:
sudo startxfce4
This will open the Linux side. To go back and forth between them, hold down the following keys together:
CTRL+ALT+SHIFT+Forward/Backward
(arrow keys on the top row of the keyboard)

You can see how it does a whole bunch of stuff on the crosh, if you go back to Chrome’s side, shown above. Leave it alone now. If you need to do anything more, work in the terminal on the Linux side.
Keep it in the downloads folder. You can access anything in this folder on both sides of the partition, so keep this in mind if you need to move programs or images, etc, back and forth. See how they look different but have the same files inside?
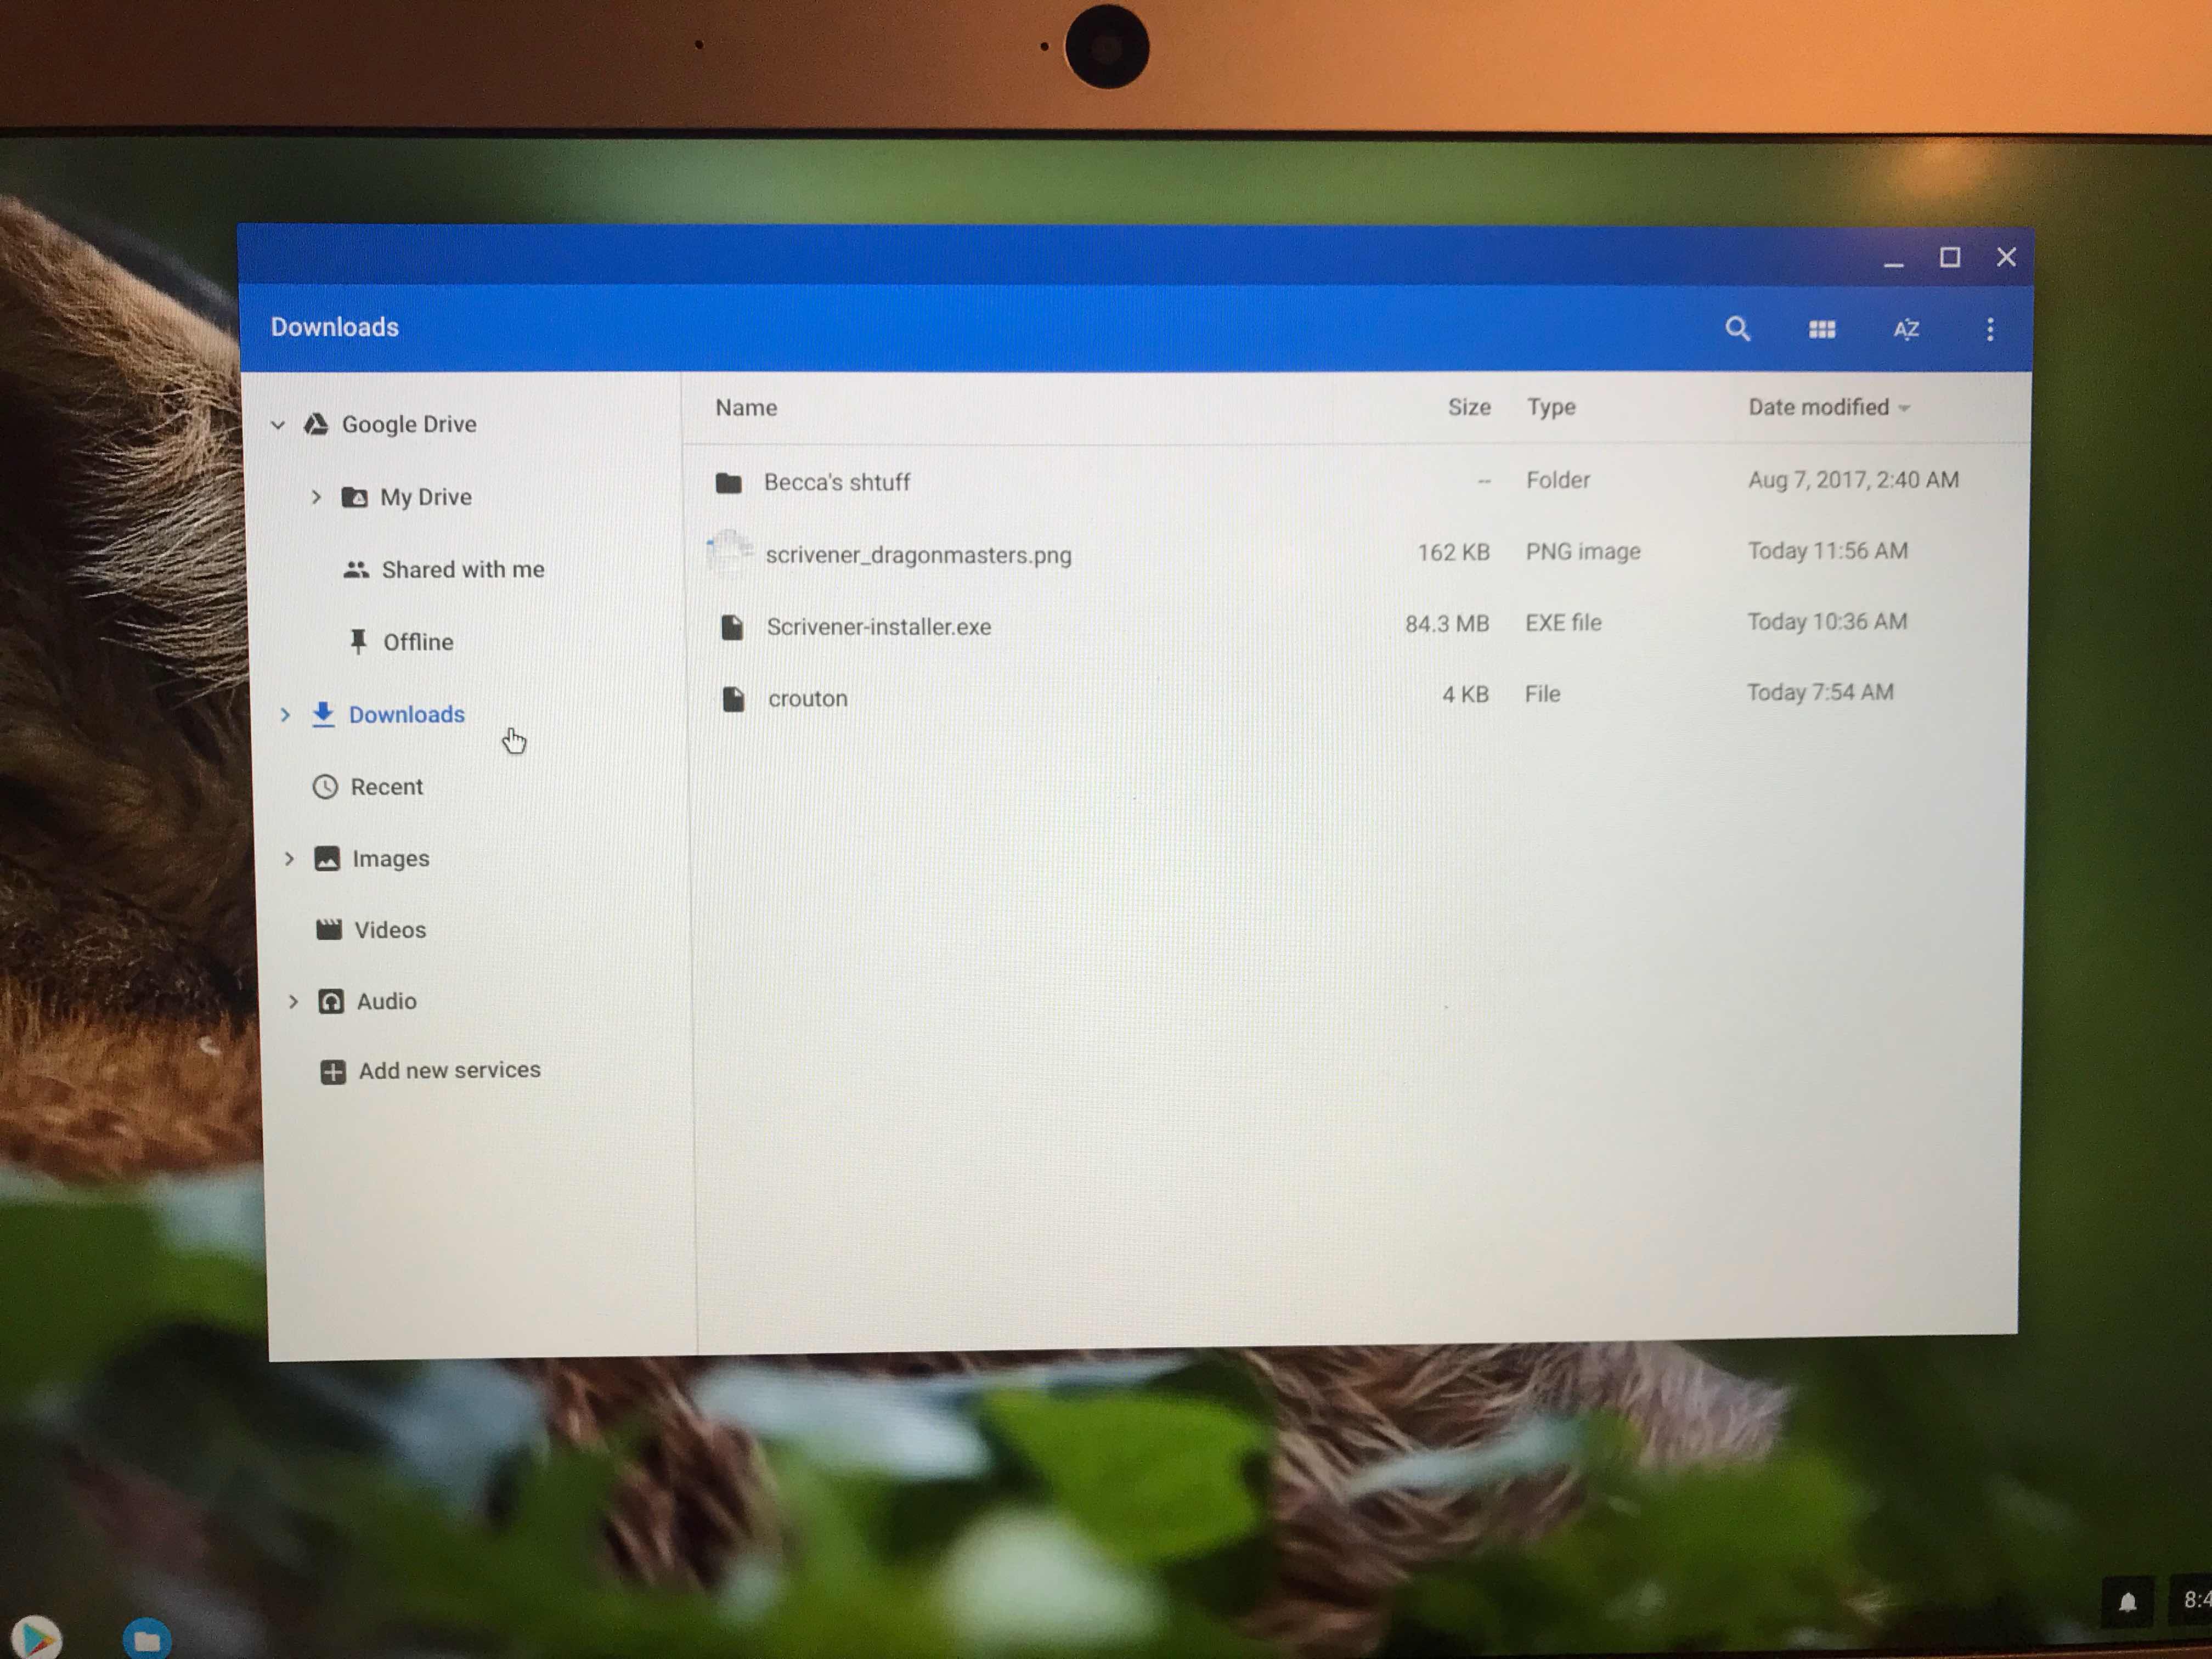
Chrome side ^
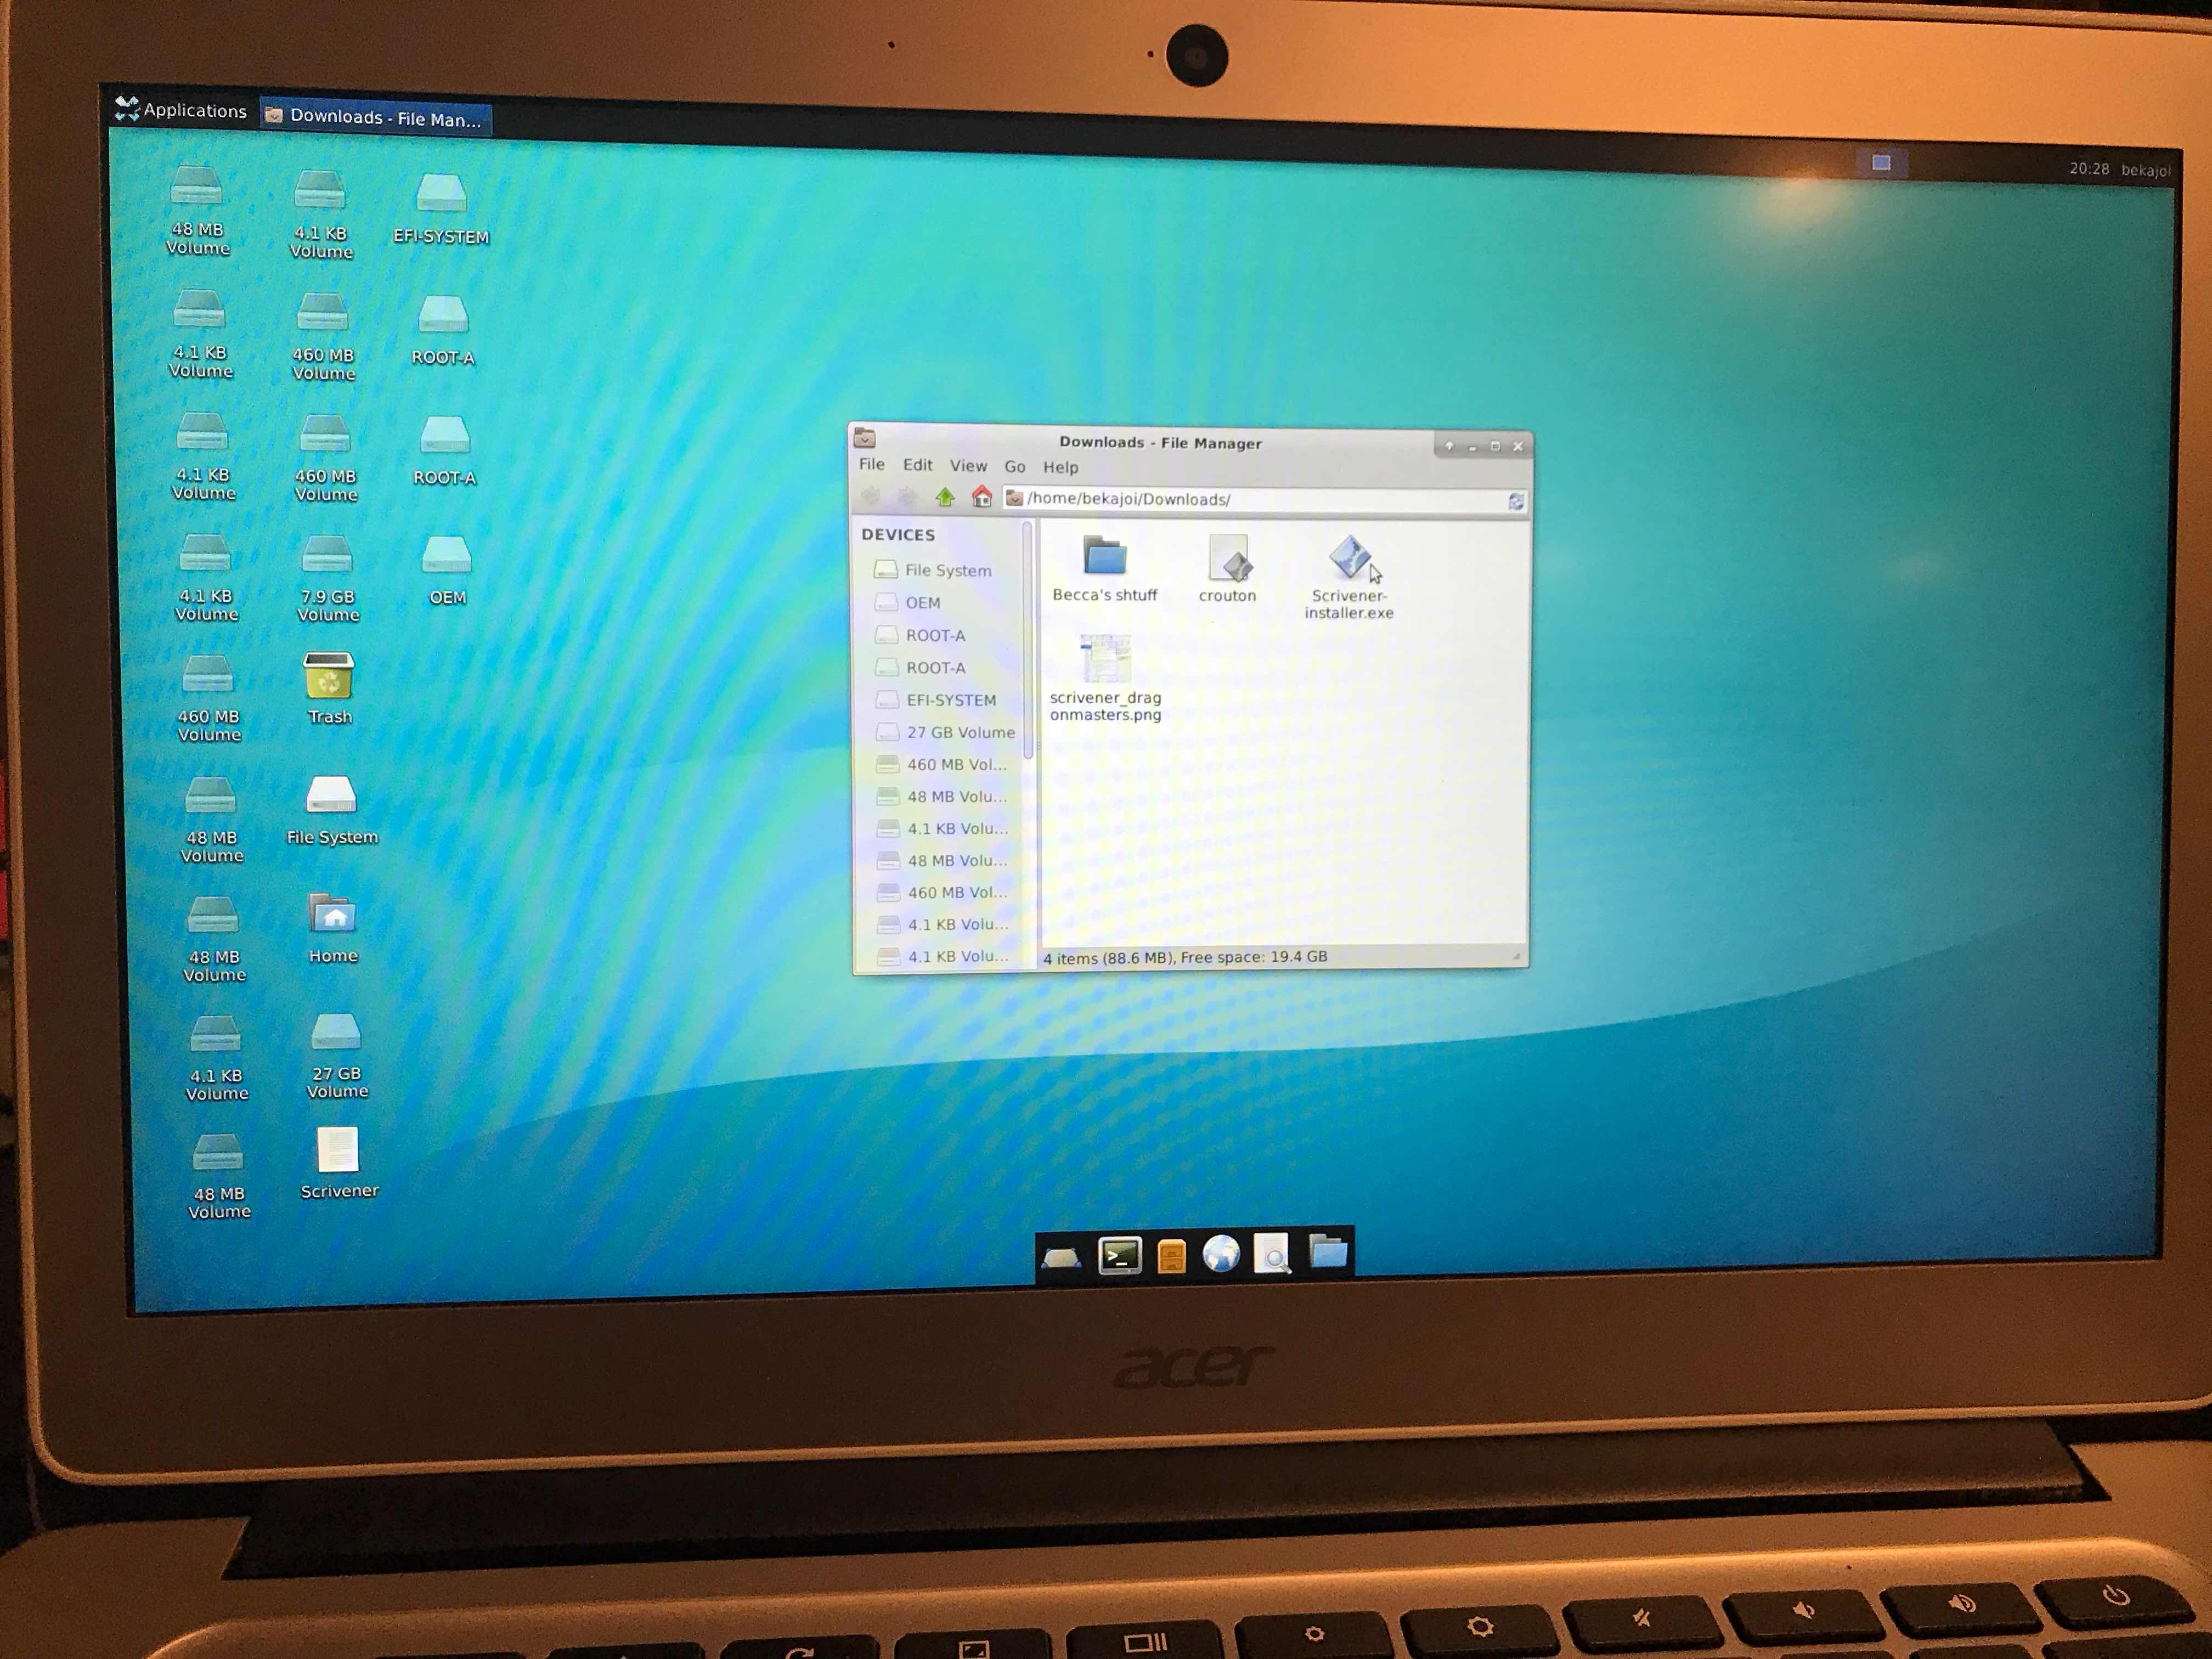
Linux side^
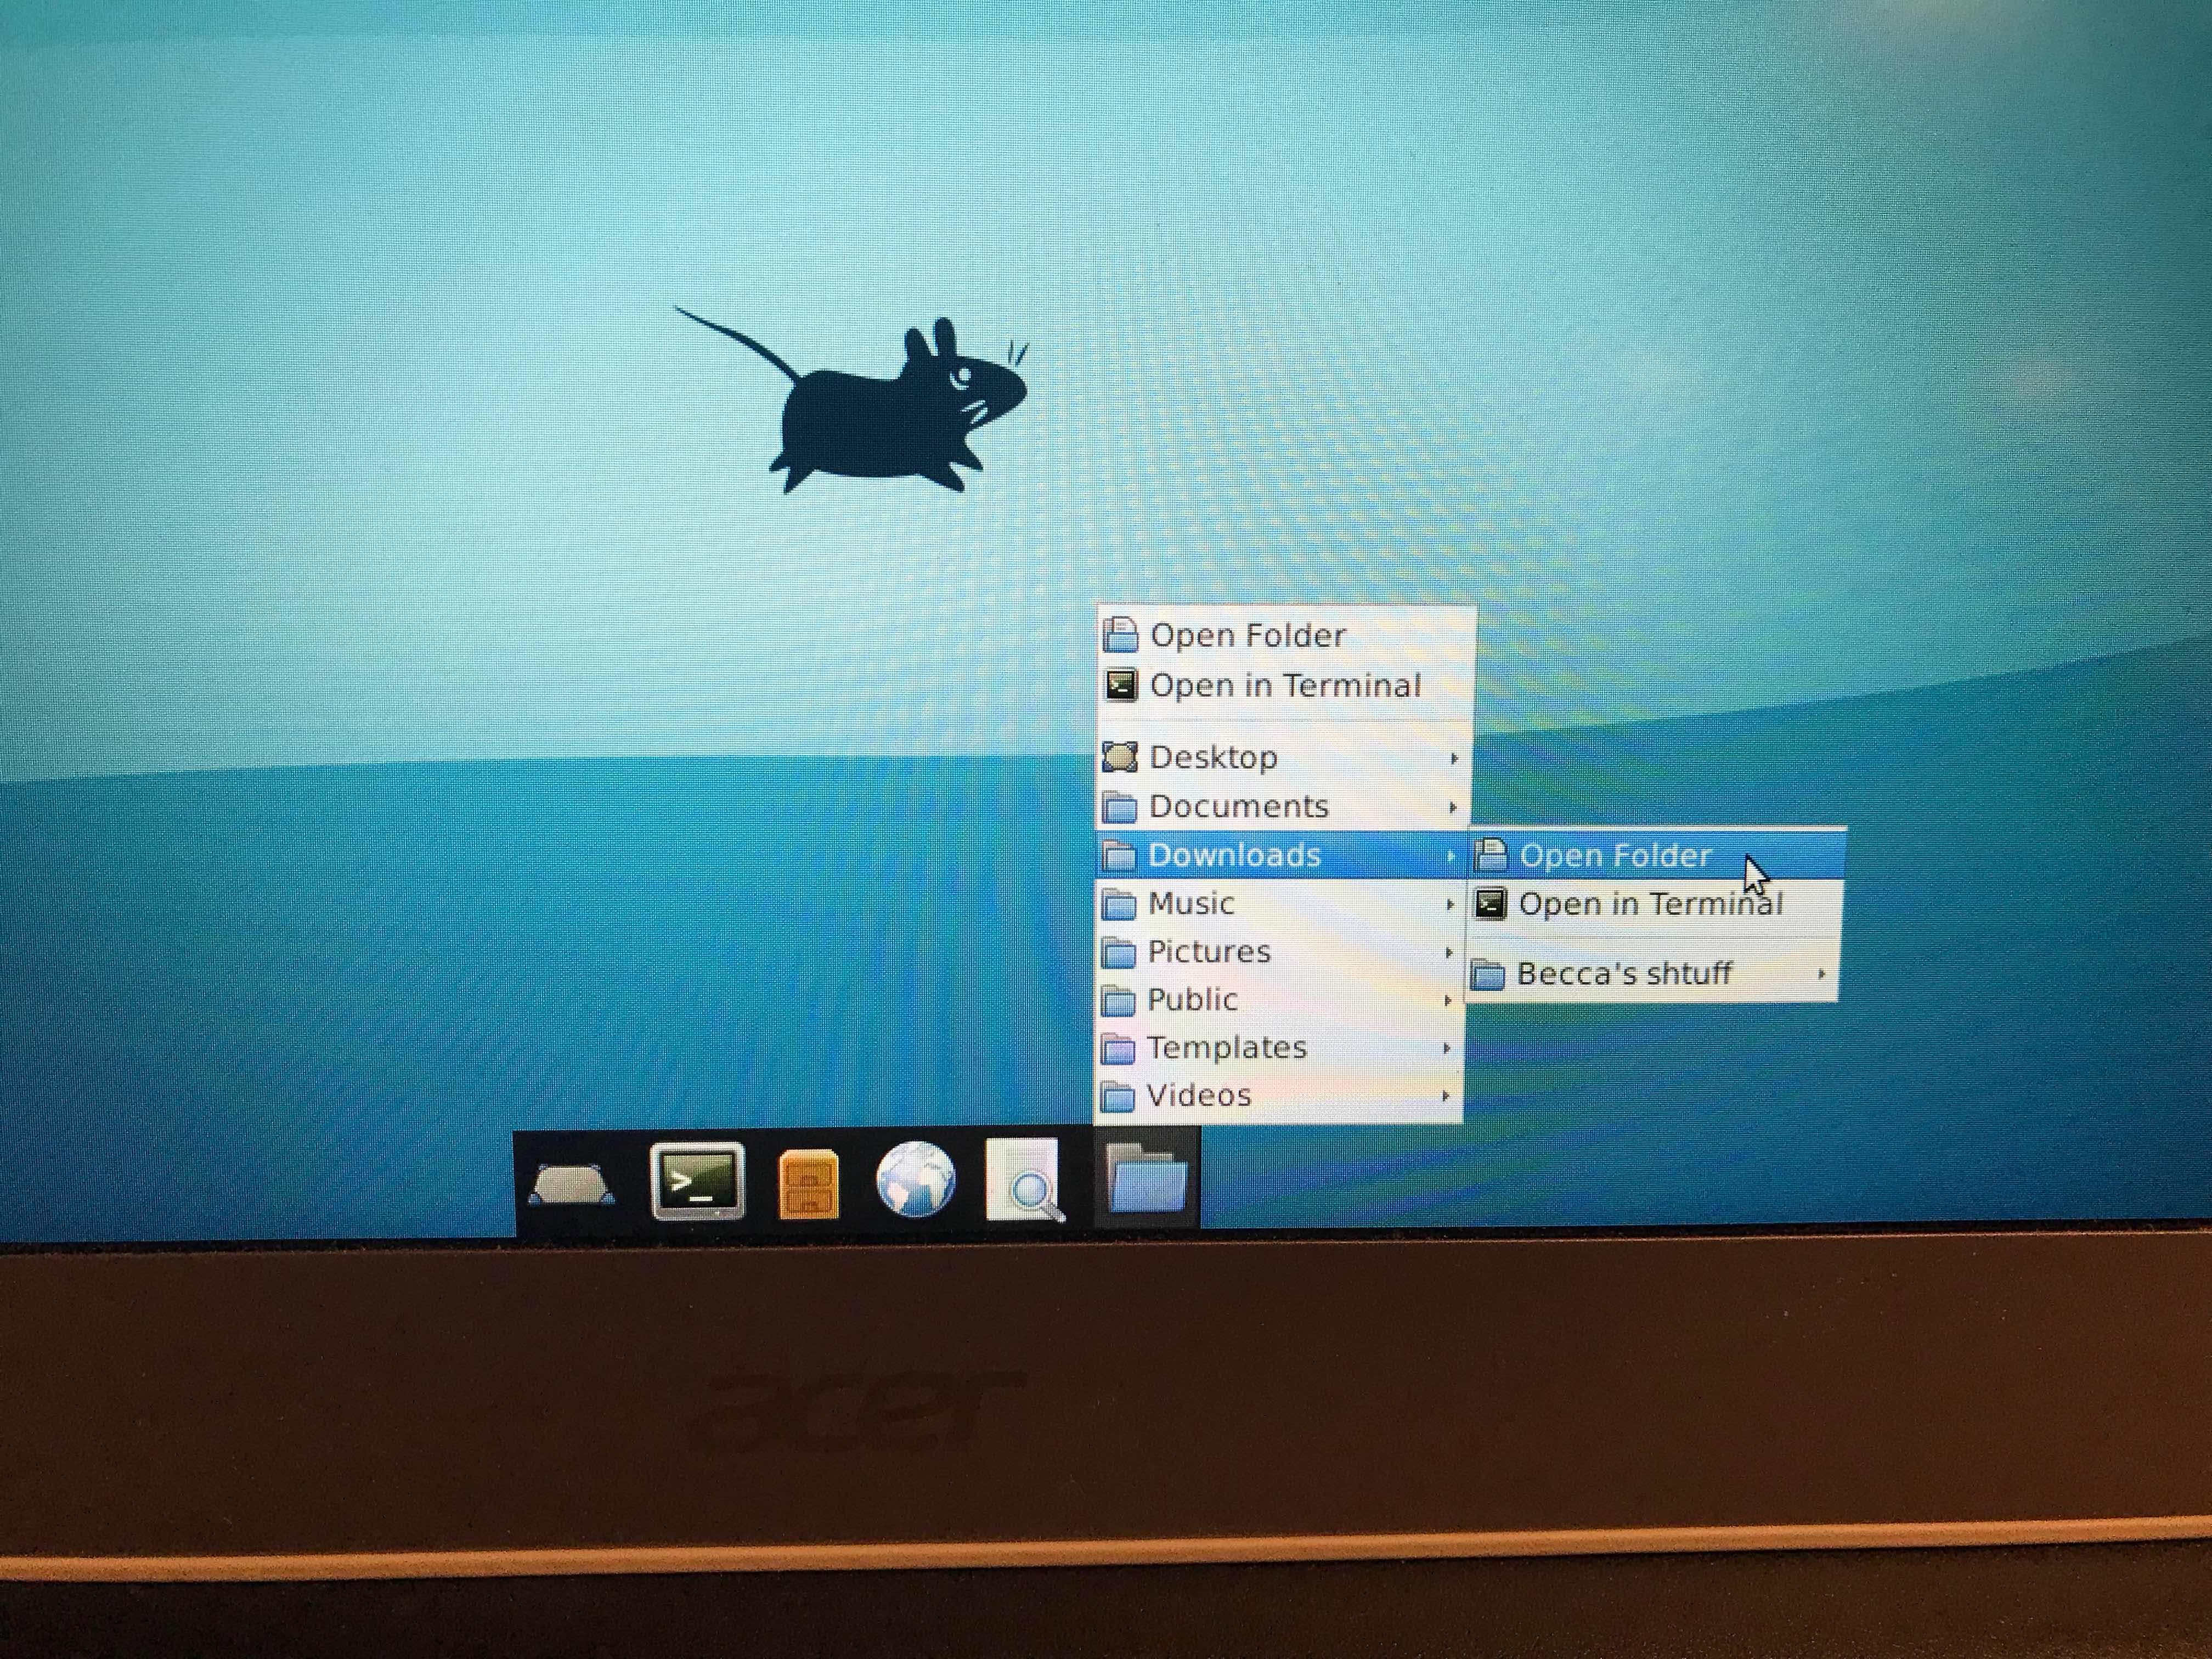
Once downloaded, hop over to the Linux side (CTRL+ALT+SHIFT+forward/backward), open the downloads folder, click on the icon, and install. Follow all prompts.
How to access the files on the Ubuntu Linux OS- start in the file folder icon^
This should complete the process, if all went well. Scrivener should pop up as a logo on your Linux screen, and allow access. If you've purchased the program already, enter your license key, and you're good to go! Just remember to save your Scrivener files in the Downloads area so you can access them on the Chrome side, to send them to yourself via email or export to a flash or hard drive to save copies, etc.
Now, if after all that, it won't load the Scrivener program, you may need to install 32 bit architecture. On this try, though, it seems it was added to the Wine update. If you need it, in Linux terminal, try this:
Hope this helps you Scrivener lovers, and Linux beginners like me! Happy writing!! If anything isn't clear, holler at me in the comments and I'll try to explain better!
Step 3:
update in the terminal on Linux side:
(The little computer screen icon along the bottom, 2nd from the left will open your terminal)
How apt-get works, if you want more info and options for it. You can use it to install games like minesweeper and solitaire on the Linux side, etc. "apt-cache search games" will list out the games you have access to, and then "sudo apt-get install gamename" will install it. The upper left of the Ubuntu screen is like your start menu on Windows, and you can find your directory for the computer's files in there, and is where your games will be shown.
Anyway! For now we will stick to the programs we need for Scrivener, in specifics.
Step 4:
Install Wine (windows translation program, allows windows programs to run)
In terminal on Linux side:
When the screen on the terminal changes and you need to answer yes/no questions!!!!
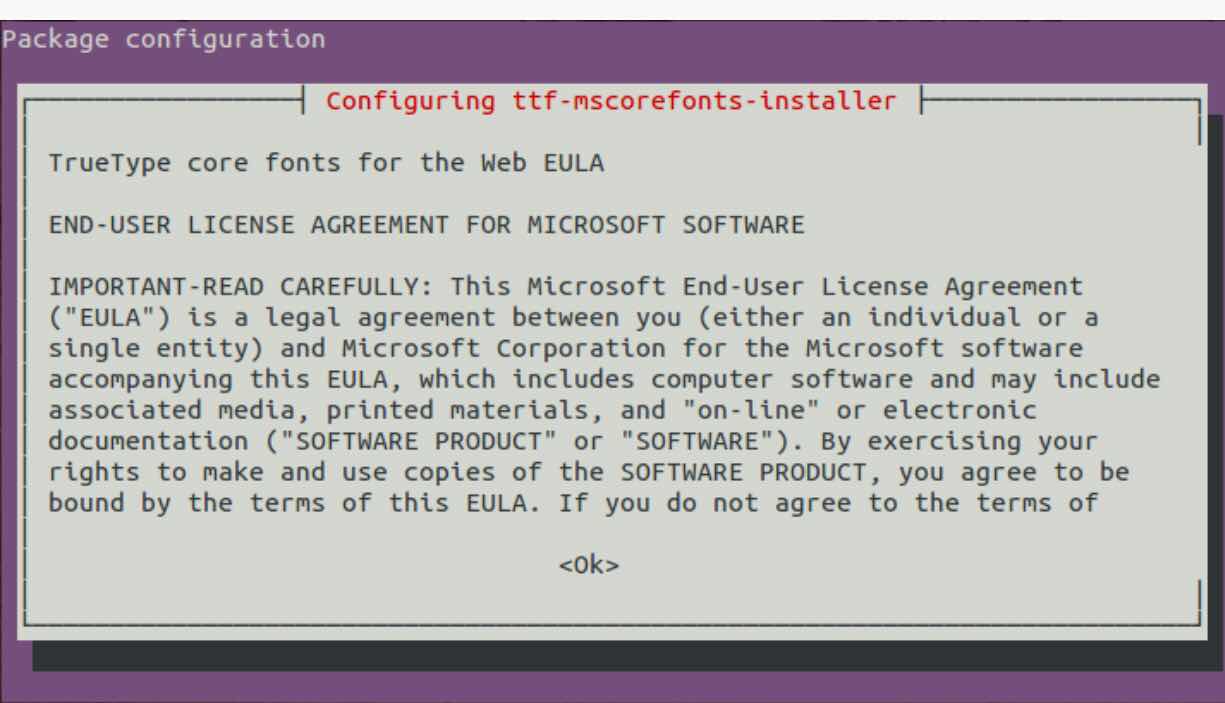
Hitting Tab will highlight the options. < & > (arrow keys) will let you go back and forth to select yes/no, etc. Just hit enter when the right option is selected, to say yes, approve it, and let it finish! I got stuck on this step for far too long ^^ on my early attempts to do this. It's an old DOS command I'd forgotten and needed to look up.
Install Scrivener
Hop back over to the Chrome OS side. (CTRL+ALT+SHIFT+forward/back)
Download the file for Scrivener on Windows from there: Scrivener Download
update in the terminal on Linux side:
(The little computer screen icon along the bottom, 2nd from the left will open your terminal)
Sudo apt-get update
(let it run, enter any passwords it requests)*This is the first time using this step, so it gets its own step here. In the future, assume you always need to update after an install of a new program via apt-get. I'll remind below each one we do here, but it will be included with the steps for the download.
How apt-get works, if you want more info and options for it. You can use it to install games like minesweeper and solitaire on the Linux side, etc. "apt-cache search games" will list out the games you have access to, and then "sudo apt-get install gamename" will install it. The upper left of the Ubuntu screen is like your start menu on Windows, and you can find your directory for the computer's files in there, and is where your games will be shown.
Anyway! For now we will stick to the programs we need for Scrivener, in specifics.
Step 4:
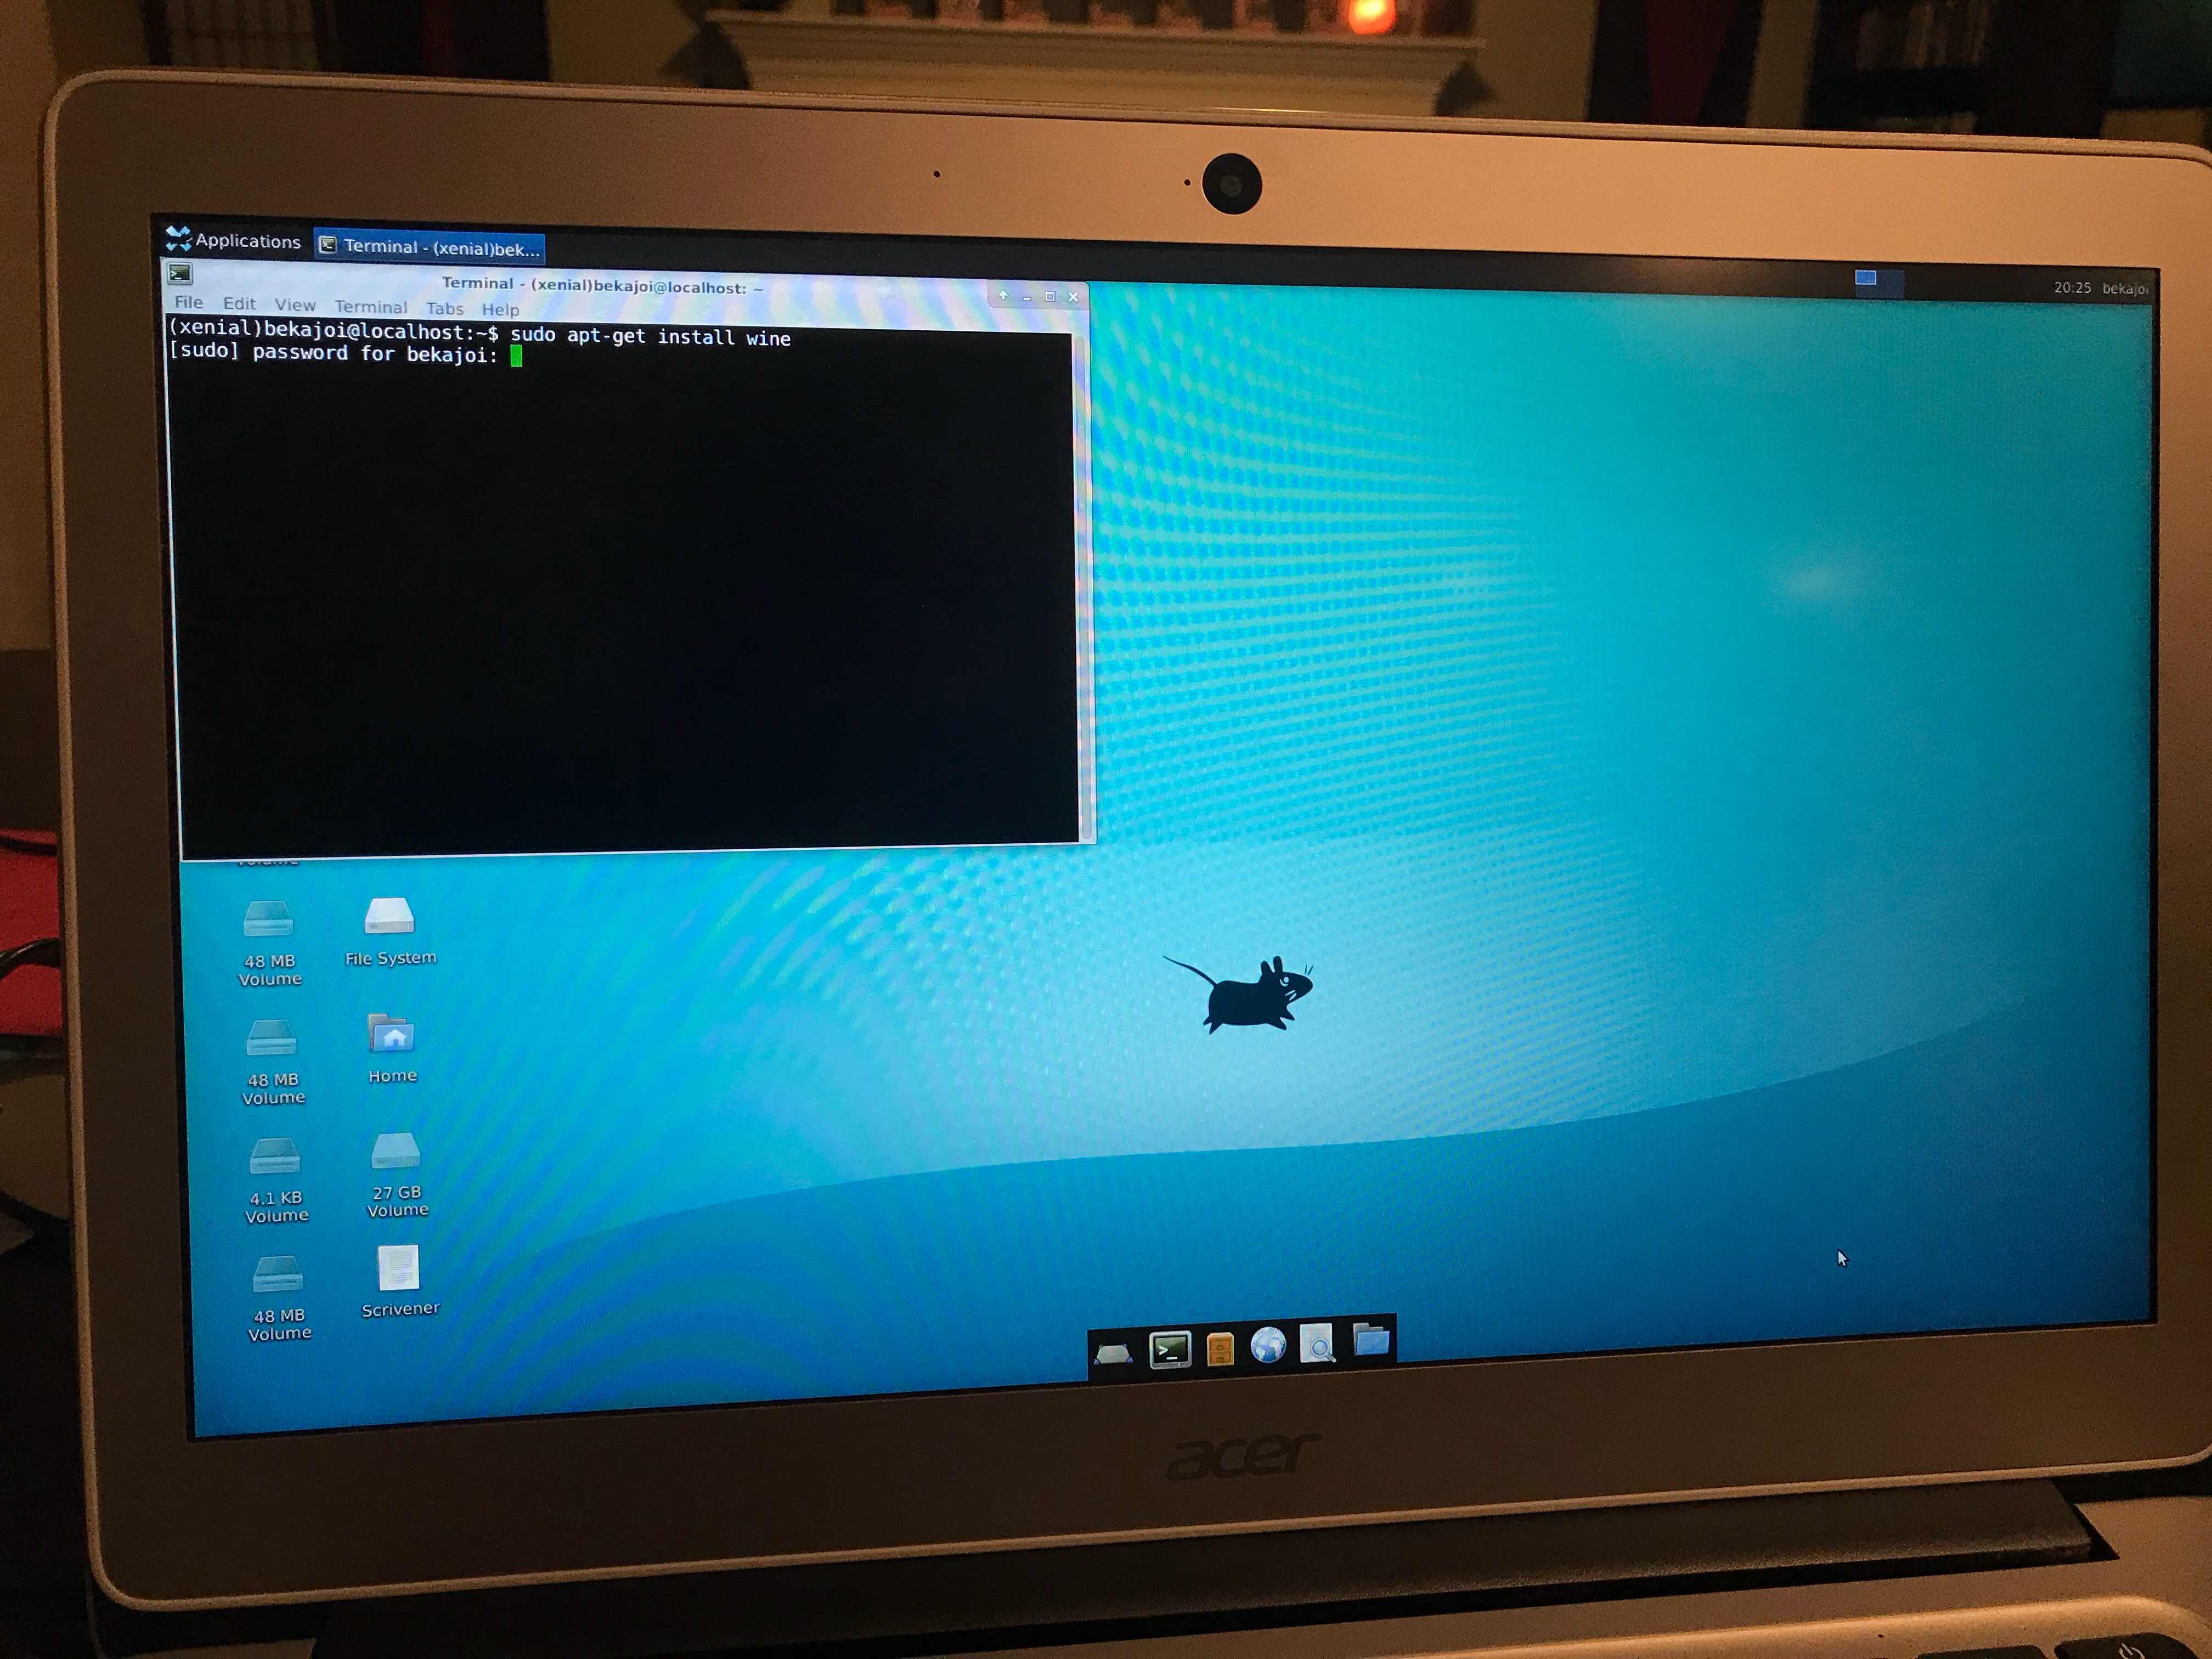
Install Wine (windows translation program, allows windows programs to run)
In terminal on Linux side:
sudo apt-get install wine
(follow all prompts, enter passwords as requested)This part is TRICKY!!!!!
When the screen on the terminal changes and you need to answer yes/no questions!!!!
Hitting Tab will highlight the options. < & > (arrow keys) will let you go back and forth to select yes/no, etc. Just hit enter when the right option is selected, to say yes, approve it, and let it finish! I got stuck on this step for far too long ^^ on my early attempts to do this. It's an old DOS command I'd forgotten and needed to look up.
sudo apt-get update (as always)Step 5:
Install Scrivener
Hop back over to the Chrome OS side. (CTRL+ALT+SHIFT+forward/back)
Download the file for Scrivener on Windows from there: Scrivener Download
Keep it in the downloads folder. You can access anything in this folder on both sides of the partition, so keep this in mind if you need to move programs or images, etc, back and forth. See how they look different but have the same files inside?
Chrome side ^
Linux side^
Once downloaded, hop over to the Linux side (CTRL+ALT+SHIFT+forward/backward), open the downloads folder, click on the icon, and install. Follow all prompts.
How to access the files on the Ubuntu Linux OS- start in the file folder icon^
This should complete the process, if all went well. Scrivener should pop up as a logo on your Linux screen, and allow access. If you've purchased the program already, enter your license key, and you're good to go! Just remember to save your Scrivener files in the Downloads area so you can access them on the Chrome side, to send them to yourself via email or export to a flash or hard drive to save copies, etc.
Now, if after all that, it won't load the Scrivener program, you may need to install 32 bit architecture. On this try, though, it seems it was added to the Wine update. If you need it, in Linux terminal, try this:
sudo dpkg -- add-architecture i386Other references, for understanding how Linux Ubuntu works a bit better, and going deeper if you'd like:
- Installing Software on Linux, for beginners
- Complete Beginner's Guide to Ubuntu
- Complete Guide to the Ubuntu Software Center
Hope this helps you Scrivener lovers, and Linux beginners like me! Happy writing!! If anything isn't clear, holler at me in the comments and I'll try to explain better!